Splash Pad Construction And Installation
[su_box title=”FIRST STAGE” style=”glass” title_color=”#ffffff”]
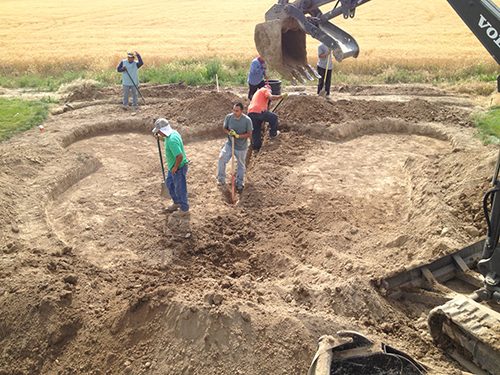 Construction is the hard part but luckily you are in good hands with over 40 years of experience in general contracting and landscape design here at SplashpadsUSA. For the construction of your splash pad, we start with excavation of the design you have chosen for your splash pad. We must excavate out approximately 12 inches of ground to accommodate the internal plumbing of the splash pad. After forming for the design and shape of your splash pad, we then place the internal plumbing in place. The internal plumbing is then protected and held in place with a sand base gently compacted around the piping. This sand base protects the plumbing from puncture or other damage. At this point, the piping connections to your nozzles and above ground waterplay feature plates are placed. We then cover up the piping with another 6 inches of sand to ensure that the pipes are protected.
[/su_box]
[su_box title=”SECOND STAGE” style=”glass” title_color=”#ffffff”]
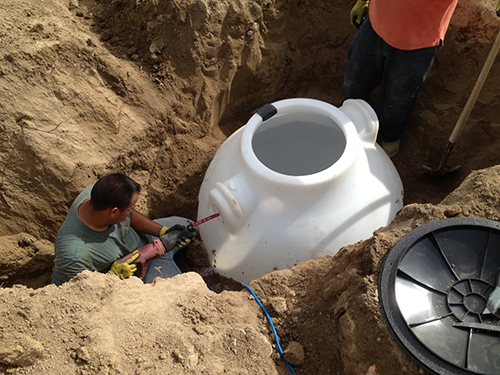 At this stage, we are ready for the placement of an oversized tank into the ground near your splash pad. At SplashpadsUSA we only use oversized tanks so that water supply to your feature is never an issue. These tanks are also likely to be the best installation for anyone wanting to have the option for add-on above ground features in the future.
[/su_box]
[su_box title=”THIRD STAGE” style=”glass” title_color=”#ffffff”]
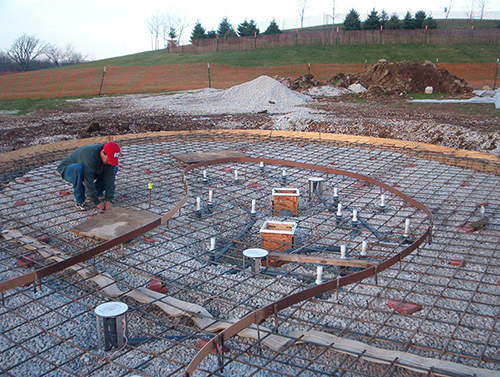 Gravel is added to the splash pad so that correct compaction is obtained for the next step which is concrete. Once compaction is performed to a tight compaction, the splash pad is ready for the rebar. Rebar is installed 12 inch on center and adequately fastened and secured so that the steel is properly centered for the concrete pour. This step ensures that your concrete will not crack or sink.
[/su_box]
[su_box title=”FOURTH STAGE” style=”glass” title_color=”#ffffff”]
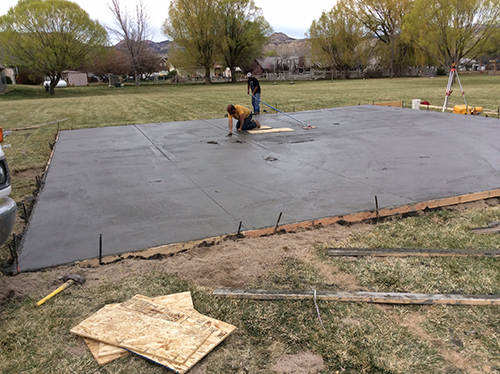
 Now it’s time to pour the concrete. We only use the best concrete mix so that you will have a nice concrete finish which will endure for many years of wear and tear without spalling or chipping if you choose to use your pad without adding specialized surface coatings. See our surface coating section for surface coat options. We only use the best concrete suppliers with highest ratings on the quality of concrete supplied. After we pour the concrete, we put in adequate control joints to allow for normal expansion and prevent cracks.
After the concrete cures for roughly 30 days, SplashpadsUSA then installs all of the equipment, including the filters, pumps, chlorinators, sanitizers, etc…
[/su_box]
[su_box title=”FIFTH STAGE” style=”glass” title_color=”#ffffff”]
 The final step before you are fully operational involves hooking up all of your equipment which must be safely stored near the splash pad. The enclosure for your equipment should safely house your equipment with easy access for maintenance.
[/su_box]
[su_box title=”FINISH” style=”glass” title_color=”#ffffff”]
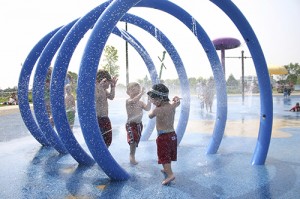
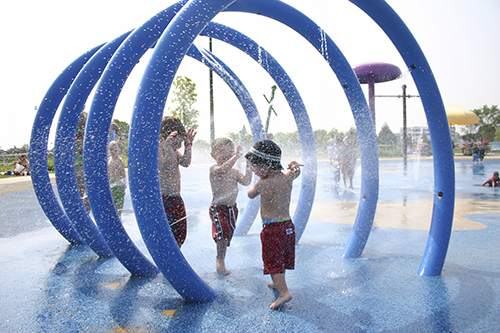 Now you are ready for the installation of the FUN parts! The above ground water play features are installed.
[/su_box]
[su_box title=”TURN ON YOUR SPLASH PAD AND ENJOY!” style=”glass” title_color=”#ffffff”]
 One of our trained professionals will go over the maintenance and care of your new interactive splash pad or water play feature with your designated representative. Options for maintenance packages are available for certain locations and can be discussed with your sales representative.
[/su_box]